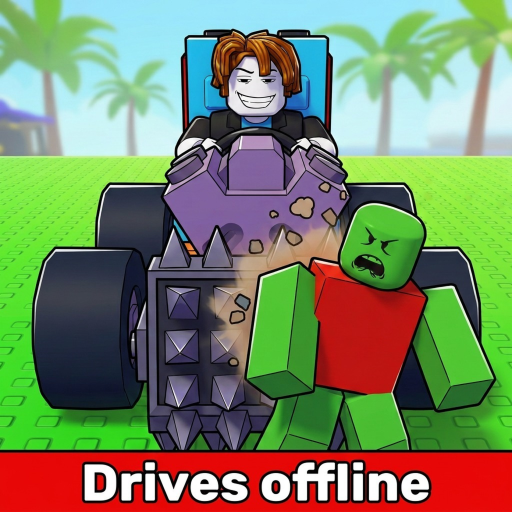
Build and Kill Zombies: Zombies and Driving Contact
Understand zombie groups during driving, connect kills to Cash and inspect weapon contact without assuming a fixed wave schedule.
Build and Kill Zombies presents groups of zombies during the driving phase, and zombie kills contribute to Cash alongside distance. Use those groups to evaluate how your car's mounted equipment meets targets. A useful run comparison follows actual contact rather than assuming a fixed wave roster or spawn schedule.
Meet groups with a purposeful layout
The tutorial installs a Shredder before the first drive. Front-facing support weapons are described as meeting zombies before the rest of the build, so inspect that arrangement as a baseline. Select equipment through Build, mount it on a highlighted point and verify it appears on the vehicle.
Your driving line matters because placement is only useful when zombies reach the equipped part of the car. Watch the groups you approach and whether the mounted weapon meets them as intended. Do not infer an exact damage stat from how one crowded scene looks in a video.
Read kills alongside the rest of the run
Distance and kills both contribute to earnings. A run that lasts longer may produce more total kills simply because the car has more time to reach groups. A run with stronger contact but shorter distance may answer a different equipment question. Read both results before deciding what to change.
| Observation | Interpretation to check | Next action |
|---|---|---|
| Groups reach the weapon | Placement is serving the chosen line | Keep it stable for a weapon comparison |
| Groups rarely meet equipped parts | Line and layout may not match | Revise one placement or approach |
| Kills rise with a much longer run | More driving opportunity may contribute | Compare distance before crediting the weapon |
| Fuel empties after useful contact | Range is a separate limit | Inspect fuel rather than guessing a new enemy mechanic |
Compare contact without inventing a wave model
Hold engine and fuel similar, keep the same weapon and change only its placement for a layout comparison. Alternatively, keep the placement stable and compare one owned weapon replacement. In either case, use a similar approach to zombie groups so driving choices do not dominate the result.
Record the end condition as well as kills. Fuel drains while driving; an empty-fuel stop is not itself evidence that a zombie group defeated the design. Use RETURN when fuel empties and examine the result before another purchase.
Choose the next action from what you saw
- Poor contact: inspect the equipped part and the driving line.
- Useful contact but an empty-fuel finish: inspect range as a separate problem.
- No space for another owned weapon: inspect support capacity.
- An unclear multi-part comparison: restore the last working layout.
The live interface and actual groups on your drive take priority over a remembered video's sequence. Avoid planning around unsupported enemy names, exact spawn timers or a promised wave count. You can still improve the car by observing contact and comparing visible results without assigning those unverified details.
If the next step is installation, open equip weapons and defenses. If it is the driving loop, use driving runs. For the earning decision afterward, Cash planning connects the run to rolls, purchases and Skills. Your immediate target is effective equipment contact on a car whose next upgrade can be chosen from the result.