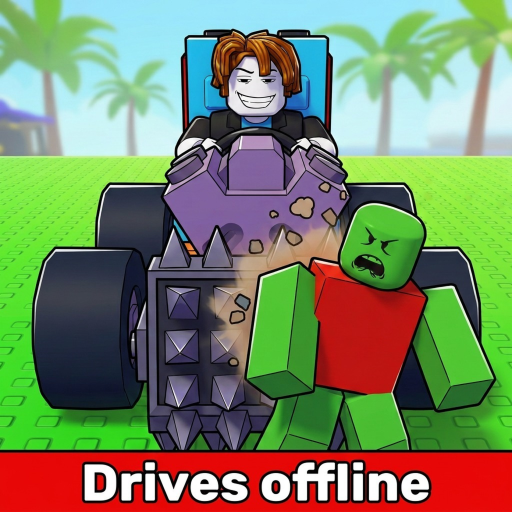
Build and Kill Zombies: Defenses and Support Layout
Distinguish vehicle structure from mounting capacity, inspect front placement and avoid treating a larger build as guaranteed protection.
Build and Kill Zombies defenses are best approached as a layout problem: vehicle structure, support availability and mounted equipment must work together. Blocks and Supports appear in the building system, while front-facing support weapons meet zombies before the rest of the car. Start from that practical distinction rather than assuming every added block provides a known damage reduction.
Separate structure from usable equipment space
Blocks and Supports are vehicle part families. They matter when arranging a car, but their names alone do not establish exact defensive stats. Index is the place to inspect unlocked parts and displayed information. Build is where you verify whether the chosen arrangement can actually be assembled.
Give the front of the car a clear purpose
Front-facing support weapons are described as meeting zombies first. Inspect whether your installed equipment is positioned to do that under the line you drive. This is a placement baseline, not a promise that all threats disappear before they reach other parts.
If you revise the front, keep the working engine and fuel arrangement intact while comparing contact. A complete redesign can change too many things to tell whether the defensive idea helped. The first result to observe is whether the new arrangement actually meets the zombie groups as intended.
| Element | Known context | What to inspect |
|---|---|---|
| Blocks | Vehicle structure family | Actual Index entry and how the layout fits |
| Supports | Vehicle mounting context | Usable points for the selected equipment |
| Front support weapon | Meets zombies before the rest of the build | Contact under your driving approach |
| More Support Skills | Additional weapon slots | Whether a useful owned weapon lacks a mount |
Inspect capacity before chasing another piece
More Support Skills add weapon mounting slots. When you want another installed weapon but have no place for it, inspect those nodes and the live requirements. If you still have an unused compatible point, use the equipment you already own before paying for capacity you may not need.
Spend from the actual obstacle: unavailable equipment, a missing slot or a placement that does not serve its purpose. None of these is repaired by adding unrelated structure. Keep Cash available for the part or Skill you intended to use after the layout check.
Evaluate the arrangement without claiming immunity
- Record the working layout before changing its front or supports.
- Change one placement or component at a time.
- Keep fuel and engine comparable when judging the layout.
- Watch contact, then compare the run's visible result.
If a new arrangement lets you install the desired weapon, that is a useful capacity improvement even before it proves better in combat. If the car continues to stop on empty fuel, treat that as a separate run limit. More structure does not establish that the end condition changed.
A useful defensive layout should make the vehicle easier to equip and its zombie contact easier to understand. Avoid relying on a screenshot's size or color as a durability rating. For slot purchases, use defense upgrades. For conditional layout comparisons, read defense comparison. Keep the goal measurable: a usable mount, a deliberate position and a run whose result you can compare with your baseline.